Even carefully polished gemstones have no way to be worn directly on our bodies, only gemstones that have been set can be worn by people. Often you have to admit that gemstones and precious metals are perfect for each other, and that they complement each other in a way that no one can be separated from the other. So how does a sparkling gemstone get set into a precious metal? Let’s find out today. However, here we need to introduce the process starting from the design of the jewelry.
Step 1: Design the jewelry style
This jewelry style can be the jewelry designer’s own idea or a private custom piece for the client. So the time and cost of the jewelry design can be very much different. If the jewelry is designed by the designer himself, the time may not be very long. If it is the customer’s private customization, then ten days and half a month’s time cost is also very normal. After all, as long as the customer is not satisfied, overturned to start over is possible.
Step 2: Make a plate
The starting plate mentioned here is actually a master plate made of 925 silver or a similar metal material based on the design drawn in the previous step, and then it is turned by the lost wax method. However, with the development of technology, there is now a new technology, that is, 3D printing plate. But each of these three methods also has its own advantages.
The first step is to carve a wax version. Simply put, it is a one-to-one replica of the wax to look like the metal part of the jewelry you want to make. The metal part of the jewelry is then cast directly through the lost wax method. While this may sound like a simple task, if you want to make sure that the jewelry you make is polished and unmarked, then you have to make sure that the silver plate that is made is polished and unmarked.
Next is the silver starting plate. Silver starting is the process of making a master plate directly from 925 silver by soldering, engraving and polishing. However, direct silvering requires the craftsman to be experienced enough. After all, silver is a soft material, but not as soft as wax.
Lastly, there is the 3D printed starting plate. This is a recently popularized way of starting a plate, and you don’t need to do it manually. Specialized instruments will help you directly print out the master directly. And compared to the above two ways, its accuracy is very high, able to reach 0.01 millimeters.
Step 3: Molding
The press mold is actually a silver plate made in the previous step that is heated by filling it with a sufficient amount of rubber (make sure that the rubber must encase the silver completely). After filling you have to wait for a certain amount of time. Once the temperature has dropped, you need to remove the rest of the interior with a razor blade or some other tool. Only the model made of rubber will be left. The general service life of this template is up to about 10 years.
Step 4: Invert the mold
Pouring a mold is actually making a mold using the lost wax method. All you have to do is to make the wax mold into a wax tree and place it in a liquid that is evenly mixed with plaster powder and water. It is important to remember to keep the plaster evenly over the wax tree.
Once the plaster has completely cooled down and solidified, you can place the container of plaster directly into the furnace to heat it up. Once the wax is completely out of the plaster, you can pour the molten metal into it and wait for it to cool. Different metals take different amounts of time to cool down, so you can search the internet for more information.
After you remove the metal, there may still be some plaster stuck on it that is hard to remove. Don’t worry, all you need to do is soak the metal in hydrochloric acid for a few minutes and then rinse it off.
Step 5: Mold Execution
By step 4, you’ve basically got a piece of jewelry that isn’t quite as beautiful as it should be. So the next thing we need to do is to use some carving tools to put the final touches on the jewelry. Here you can choose a handmade engraving tool. If you like to have a higher efficiency, you can also choose the engraving machine as your tools, pneumatic engraver is now on the market more common engraving instruments. The approximate steps can be divided into, thwarting leveling, sanding and so on.
Step 6: Stone Setting
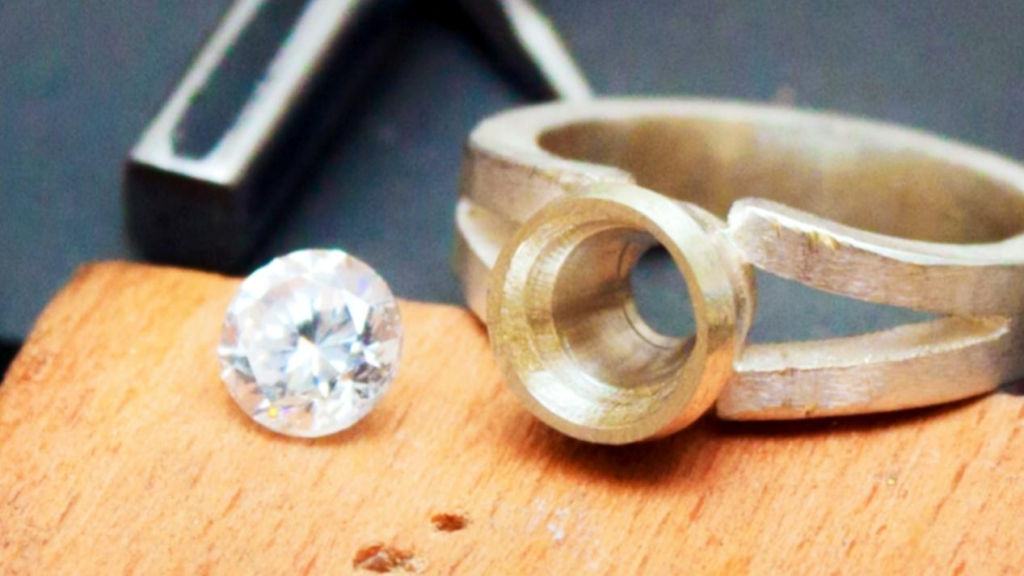
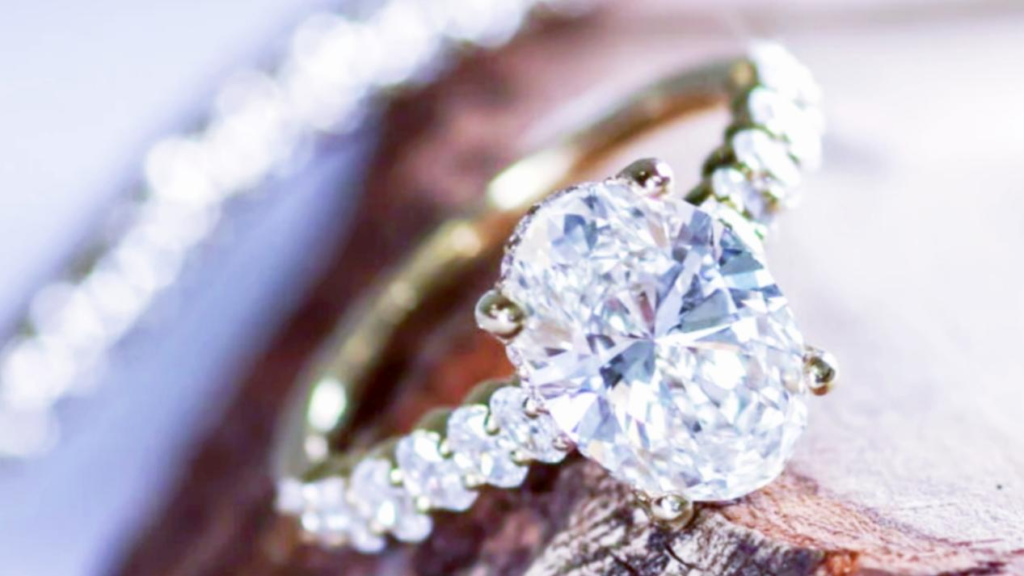
The step of setting a stone is to set the stone into the semi-finished product that has just been made. Most commonly, there are probably the following methods of setting, including claw setting, bale setting, and clip setting. There are many different types of claw settings, including two claws, three claws, four claws, six claws, and so on. But the most common claw setting is four claws and six claws. If the shape of the claw, it can also be divided into round claws, pointed claws, square claws, and even love claws. The most common is the round claw.
The advantage of the claw setting is that the metal covering the stone is minimized, which allows the beauty of the stone to be revealed to a great extent. Only claw setting this kind of setting is very easy to hook to the clothes or hair this point also makes many people feel annoyed. Next is the bezel setting, which is where the metal surrounds the entire bottom of the diamond. Although this kind of setting is not very beautiful, but the setting is also the most solid.
Clip settings refer to the tension of the metal that holds the stone in place. Although this type of setting is very simple and elegant, it is very likely that the stone will fall out if it is held in place by the tension of the metal alone. In fact, besides the ones mentioned above, there are many other gemstone setting methods. If you are interested, you can check more information by yourself.
Step 7: Polishing
After the gemstone has been set, you will also need to carry out the process of polishing the surface of the ring. The tools you may need to use here include tools such as a cloth wheel.
Step 8: Electro-gold
Electro-golding is to add another layer of metal to the surface of the metal in the form of electroplating.